
Bollinger Band Width Volatility Strategy: How to Build It in Arrow Algo
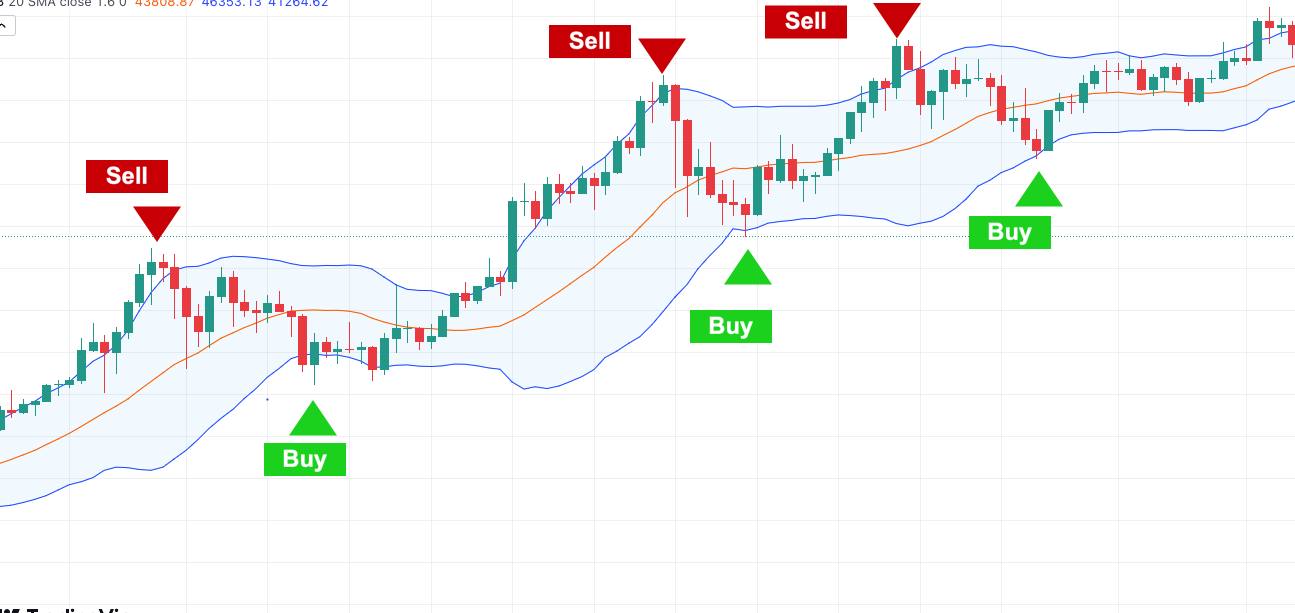
Most traders meet Bollinger Band Width through the squeeze. A Bollinger Band Width strategy can do far more than spot a squeeze. The indicator is a clean, normalised read on current volatility. It compares the market with its own recent past. That makes it a regime detector, an exit trigger and a sizing input. This guide covers all three. If you want the squeeze itself, our Bollinger Band squeeze strategy post goes deep on that one setup.
Why Volatility Is a Regime, Not a Signal
Volatility does not tell you which way price will go. It tells you what kind of market you are in. Quiet markets reward patience and breakout entries. Loud markets reward mean reversion and tight risk. The same entry rule produces opposite results in the two states.
That is the core idea behind a Bollinger Band Width strategy. You are not trading BBW. You are letting BBW decide which rules are allowed to trade. Traders who skip this step run a trend system through chop and a reversion system through a trend. Both lose. Neither is a bad system. They were just switched on at the wrong time.
What Bollinger Band Width Actually Measures
Bollinger Band Width is the gap between the upper and lower Bollinger Bands, divided by the middle band. The division is the important part. It turns a dollar gap into a percentage. A BBW of 0.08 means the bands are 8% of price apart. That number means the same thing on Bitcoin at $86,000 as on XRP at $1.50.
The bands themselves sit two standard deviations either side of a 20-period moving average. Standard deviation grows when candles get bigger and shrinks when they get smaller. So BBW is a smoothed, normalised volatility gauge. It falls during consolidation and rises during expansion. John Bollinger describes the full construction on bollingerbands.com.
What BBW is not: it is not a direction indicator. It is not an overbought or oversold measure. A high BBW reading on a rally and a high reading on a crash look identical. That is a feature. It means you can use BBW to filter without it fighting your directional logic.
Three Ways to Trade With Bollinger Band Width
1. The Regime Switch
Build two small strategies. One is a breakout entry. One is a mean reversion entry. Then put BBW in front of both.
When BBW is low relative to its own recent history, the breakout rules are live. The reversion rules are off. When BBW is high, swap them. Low volatility compresses energy. The eventual move tends to run. High volatility means stretched moves that tend to snap back.
“Low” and “high” need a definition. The cleanest is relative. Compare today’s BBW to its lowest and highest values over the past 120 candles. If it sits in the bottom quarter of that range, call the regime quiet. If it sits in the top quarter, call it loud. In between, trade nothing or trade smaller. This avoids hard-coded thresholds that only fit one asset.
2. The Expansion Exit
A trend trade is going well. The bands have blown wide open. BBW is at a six-month high. That is usually not the moment to add. It is often the moment to leave.
Volatility expands fastest near the end of a move, when late entrants pile in and stops cascade. StockCharts notes that BBW peaks frequently line up with trend exhaustion. An exit rule that closes or halves the position when BBW crosses above its 120-candle maximum catches that. You give up the last leg sometimes. You also skip the reversal that gives back half the trade.
Pair this with a trailing stop. Let the trail handle normal pullbacks. Let the BBW rule handle the blow-off.
3. Volatility-Scaled Sizing
BBW can also set position size. When BBW is low, a fixed-percentage stop sits close to price in dollar terms, so a normal position is fine. When BBW is high, that same stop sits far away, and a normal position carries too much risk.
Scale size inversely to BBW. Divide a base position by the ratio of current BBW to its 120-candle average. Twice the usual volatility means half the usual size. This keeps dollar risk roughly constant across regimes. It is the same logic as ATR-based sizing, with a measure that is already normalised to price.
Setting the Thresholds Without Curve-Fitting
The danger with any volatility strategy is tuning the thresholds until the backtest looks perfect. A 0.047 cutoff that worked on one year of ETH data is a coincidence, not a rule.
Three guardrails help. Use relative thresholds, as above, so the rule adapts to each asset. Test the lookback at 60, 120 and 250 candles and check the results are broadly similar. If 120 is brilliant and 100 is terrible, you have found noise. And run the same rule set on at least three unrelated pairs. A volatility regime filter that only works on one coin is not a volatility regime filter.
Mistakes That Flatter the Backtest
Treating BBW as a trigger. BBW crossing a level is a regime change, not an entry. Enter on price. Let BBW decide whether that entry is allowed.
Ignoring the middle zone. Most of the time BBW is neither low nor high. Strategies that force a regime label on every candle end up trading the mush. Stand aside in the middle, or size down hard.
Using the same lookback as the bands. The bands use 20 periods. The regime comparison should use far more, usually 100 or above. Comparing BBW to its own 20-candle range gives a jumpy label that flips every few days.
Forgetting that low BBW can stay low. A squeeze can last weeks. The regime switch turns on breakout rules. It does not promise a breakout tomorrow. Patience is built in. Capital is not tied up until price actually moves.
How to Build a Bollinger Band Width Strategy in Arrow Algo
Arrow Algo has a dedicated Bollinger Band Width block. Drop it on the canvas and connect your price feed. Set the period to 20 and the deviation to 2.
For the regime switch, add two Minimum In Period blocks and two Maximum In Period blocks. Feed BBW into both and set the lookback to 120. Now you have today’s BBW alongside its recent floor and ceiling. A Condition block compares BBW to the floor. If BBW is within a small margin of its 120-candle minimum, the quiet regime is active. A second Condition block does the same against the ceiling for the loud regime.
Those two conditions become gates. Wire the quiet-regime output into a Condition block using the AND operator, alongside your breakout entry signal. Wire the loud-regime output the same way into your mean reversion entry. Only one branch can fire at a time.
For the expansion exit, connect BBW to a Maximum In Period block set to 120 and a Crossover block. When BBW crosses above its previous maximum, the Crossover fires. Route that into your exit alongside a Trailing Stop block. Either one closes the trade.
For sizing, use a Math block to divide a Fixed Number by the ratio of BBW to its average. Pass the result to your order size input.
Then backtest it. Arrow Algo runs the strategy against exchange history from Binance, Coinbase or HyperLiquid. Compare the regime-switched version against each sub-strategy running alone. The switch should beat both. If it does not, the thresholds need work before the rules do.
What to Carry Into Your Own Test
- Bollinger Band Width measures volatility as a percentage of price. It works across assets without re-tuning.
- Use it as a regime filter that decides which rules may trade, not as an entry trigger.
- Low BBW favours breakout entries. High BBW favours mean reversion or standing aside.
- A BBW spike to a long lookback high is a strong exit signal for trend trades.
- Scale size inversely to BBW to hold dollar risk steady.
- Define thresholds relative to BBW’s own history, and test several lookbacks and pairs.
Disclaimer: This content is for educational purposes only and does not constitute financial advice. Trading involves significant risk and you should only trade with capital you can afford to lose. Past performance is not indicative of future results. Always conduct your own research before making any trading decisions.
Ready to build your own automated trading strategies without writing a single line of code? Start for free at Arrow Algo and join thousands of traders who've made the switch to systematic trading.