
Order Block Trading Strategy: How to Build It in Arrow Algo
An order block trading strategy hunts for the footprints large players leave on a chart. Institutions cannot buy their full size in one order without moving the market against themselves. So they accumulate inside a zone, absorb the available sellers, and then let price run. The candle range where that accumulation happened is the order block. When price later returns to it, the same players often defend it — and that reaction is what the strategy trades.
What Counts as an Order Block?
The textbook definition is precise. A bullish order block is the last red candle before a strong impulsive move up. A bearish order block is the last green candle before a strong impulsive move down. The logic: that final opposite-coloured candle is where institutional buyers or sellers filled their positions against the retail flow, just before the move revealed their hand.
The impulse is the qualifying part. A red candle followed by a gentle drift upward marks nothing. A red candle followed by displacement — a fast, decisive move that breaks a recent high — marks a zone where serious size changed hands. No displacement, no order block.
We covered the raw mechanics in our order block complete guide. This post turns the concept into an executable set of rules.
How Do You Separate Valid Zones From Noise?
Three filters do most of the work. First, demand displacement: the move away from the block must break market structure, such as taking out the most recent swing high. Second, prefer fresh zones. An order block works best on its first retest. Each subsequent visit consumes more of the resting interest, and a zone tapped three times is mostly spent. Third, look for confluence. An order block that overlaps a fair value gap — the imbalance the impulse left behind — is a stronger zone than either signal alone.
The Entry Rules That Make It Systematic
The core sequence has three steps. Identify the block. Wait for price to return to it. Enter on the reaction, with a stop beyond the zone.
Entry timing: touch or confirmation
The aggressive version enters the moment price trades back into the zone. It gets the best price but eats every failed retest. The conservative version waits for confirmation: a candle that closes back out of the zone in the trade’s direction. You give up some entry quality and skip a share of losers. Backtest both — the right choice varies by timeframe and pair.
Stops and targets
The stop goes beyond the far edge of the block, plus a volatility buffer such as half an ATR. If price trades cleanly through the entire zone, the premise is dead — exit. Targets follow structure: the swing high the impulse created, or the next untested zone above. Order block trades naturally offer asymmetric risk-reward because the stop is tight and defined.
Where Order Block Trades Break Down
The most common failure is seeing order blocks everywhere. Without the displacement requirement, every chart is covered in candidate candles, and most are meaningless. Be strict: no structure break, no trade.
Stale zones are the second trap. Order blocks from weeks ago, or zones already tested repeatedly, carry little residual interest. Third, ranging markets produce blocks on both sides that fail in both directions — the same chop problem every zone-based approach faces. A trend or volatility filter keeps activity down when conditions are wrong. Finally, remember the narrative is a model, not a certainty. Nobody can see institutional orders on a candle chart. The zones work often enough to test, not often enough to trust blindly.
Putting the Strategy Together in Arrow Algo
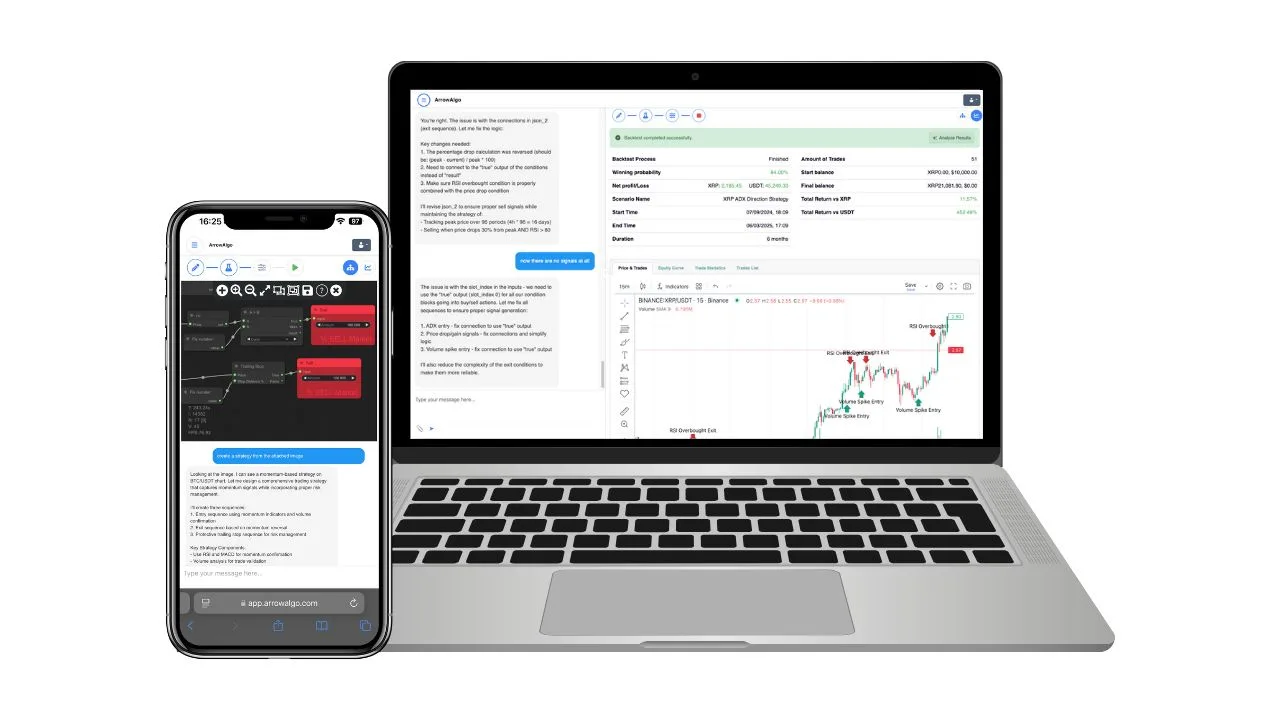
Arrow Algo ships a dedicated Order Block block, so zone detection is handled for you — no manual drawing, no subjective calls. Drop it onto the canvas and it outputs the active zones from live exchange data.
The surrounding logic is standard visual-builder work. A condition gate checks that price has returned to a detected zone. A comparison against the zone boundary defines the confirmation close for conservative entries. An ATR block sizes the stop buffer beyond the block edge. Add an ADX filter to suppress entries when no trend exists, and connect your exits: structure target, stop beyond the zone, and an optional time-based close for trades that stall.
Then backtest it on the exchange you actually trade — Binance, Coinbase, or HyperLiquid — and compare touch entries against confirmation entries over a few hundred trades. The data settles the debate faster than any chart example.
What Should Stick With You?
- An order block is the last opposite-coloured candle before an impulsive move that breaks structure.
- No displacement, no order block — the impulse is what validates the zone.
- Fresh zones beat tested ones; first retests carry the most resting interest.
- Enter on the retest, stop beyond the zone with an ATR buffer, target the next structural level.
- Filter out ranging conditions, or both-sided zones will chop the strategy apart.
- Confluence with fair value gaps strengthens a zone; treat lone signals with more caution.
Disclaimer: This content is for educational purposes only and does not constitute financial advice. Trading involves significant risk and you should only trade with capital you can afford to lose. Past performance is not indicative of future results. Always conduct your own research before making any trading decisions.
Ready to build your own automated trading strategies without writing a single line of code? Start for free at Arrow Algo and join thousands of traders who’ve made the switch to systematic trading.